With the basic outline of our pattern ready, now would be a good time to test it to see how well it adapts to different measurements, and the range of options we provided.
This page needs to be updated with screenshots from the v3 development environment
No more grading
FreeSewing patterns are bespoke, which means that we don’t need to grade our pattern to provide a range of sizes. We should test our pattern for different measurements and options to see how well it adapts.
If testing our pattern sounds like a lot of work, we’re in luck. FreeSewing can do it for us. Click the Test Design link in the sidebar under the View title.
We have a number of ways to test our pattern:
- Test design options
- Test measurements
- Test measurements sets
The API docs on sampling have all the details on how this works, but for now we’ll just look at the end result of each of these.
Testing pattern options
We used percentage options, which can vary between their minimum and maximum value. For these tests, FreeSewing will divide that range into 10 steps and draft our pattern for each step.
Click on any of the options we’ve added to our pattern, and our bib will be drawn with that option sampled.
lengthRatio
The lengthRatio option controls the length of our bib. Testing it confirms
that it only influences the length:
Update screenshot for v3
neckRatio
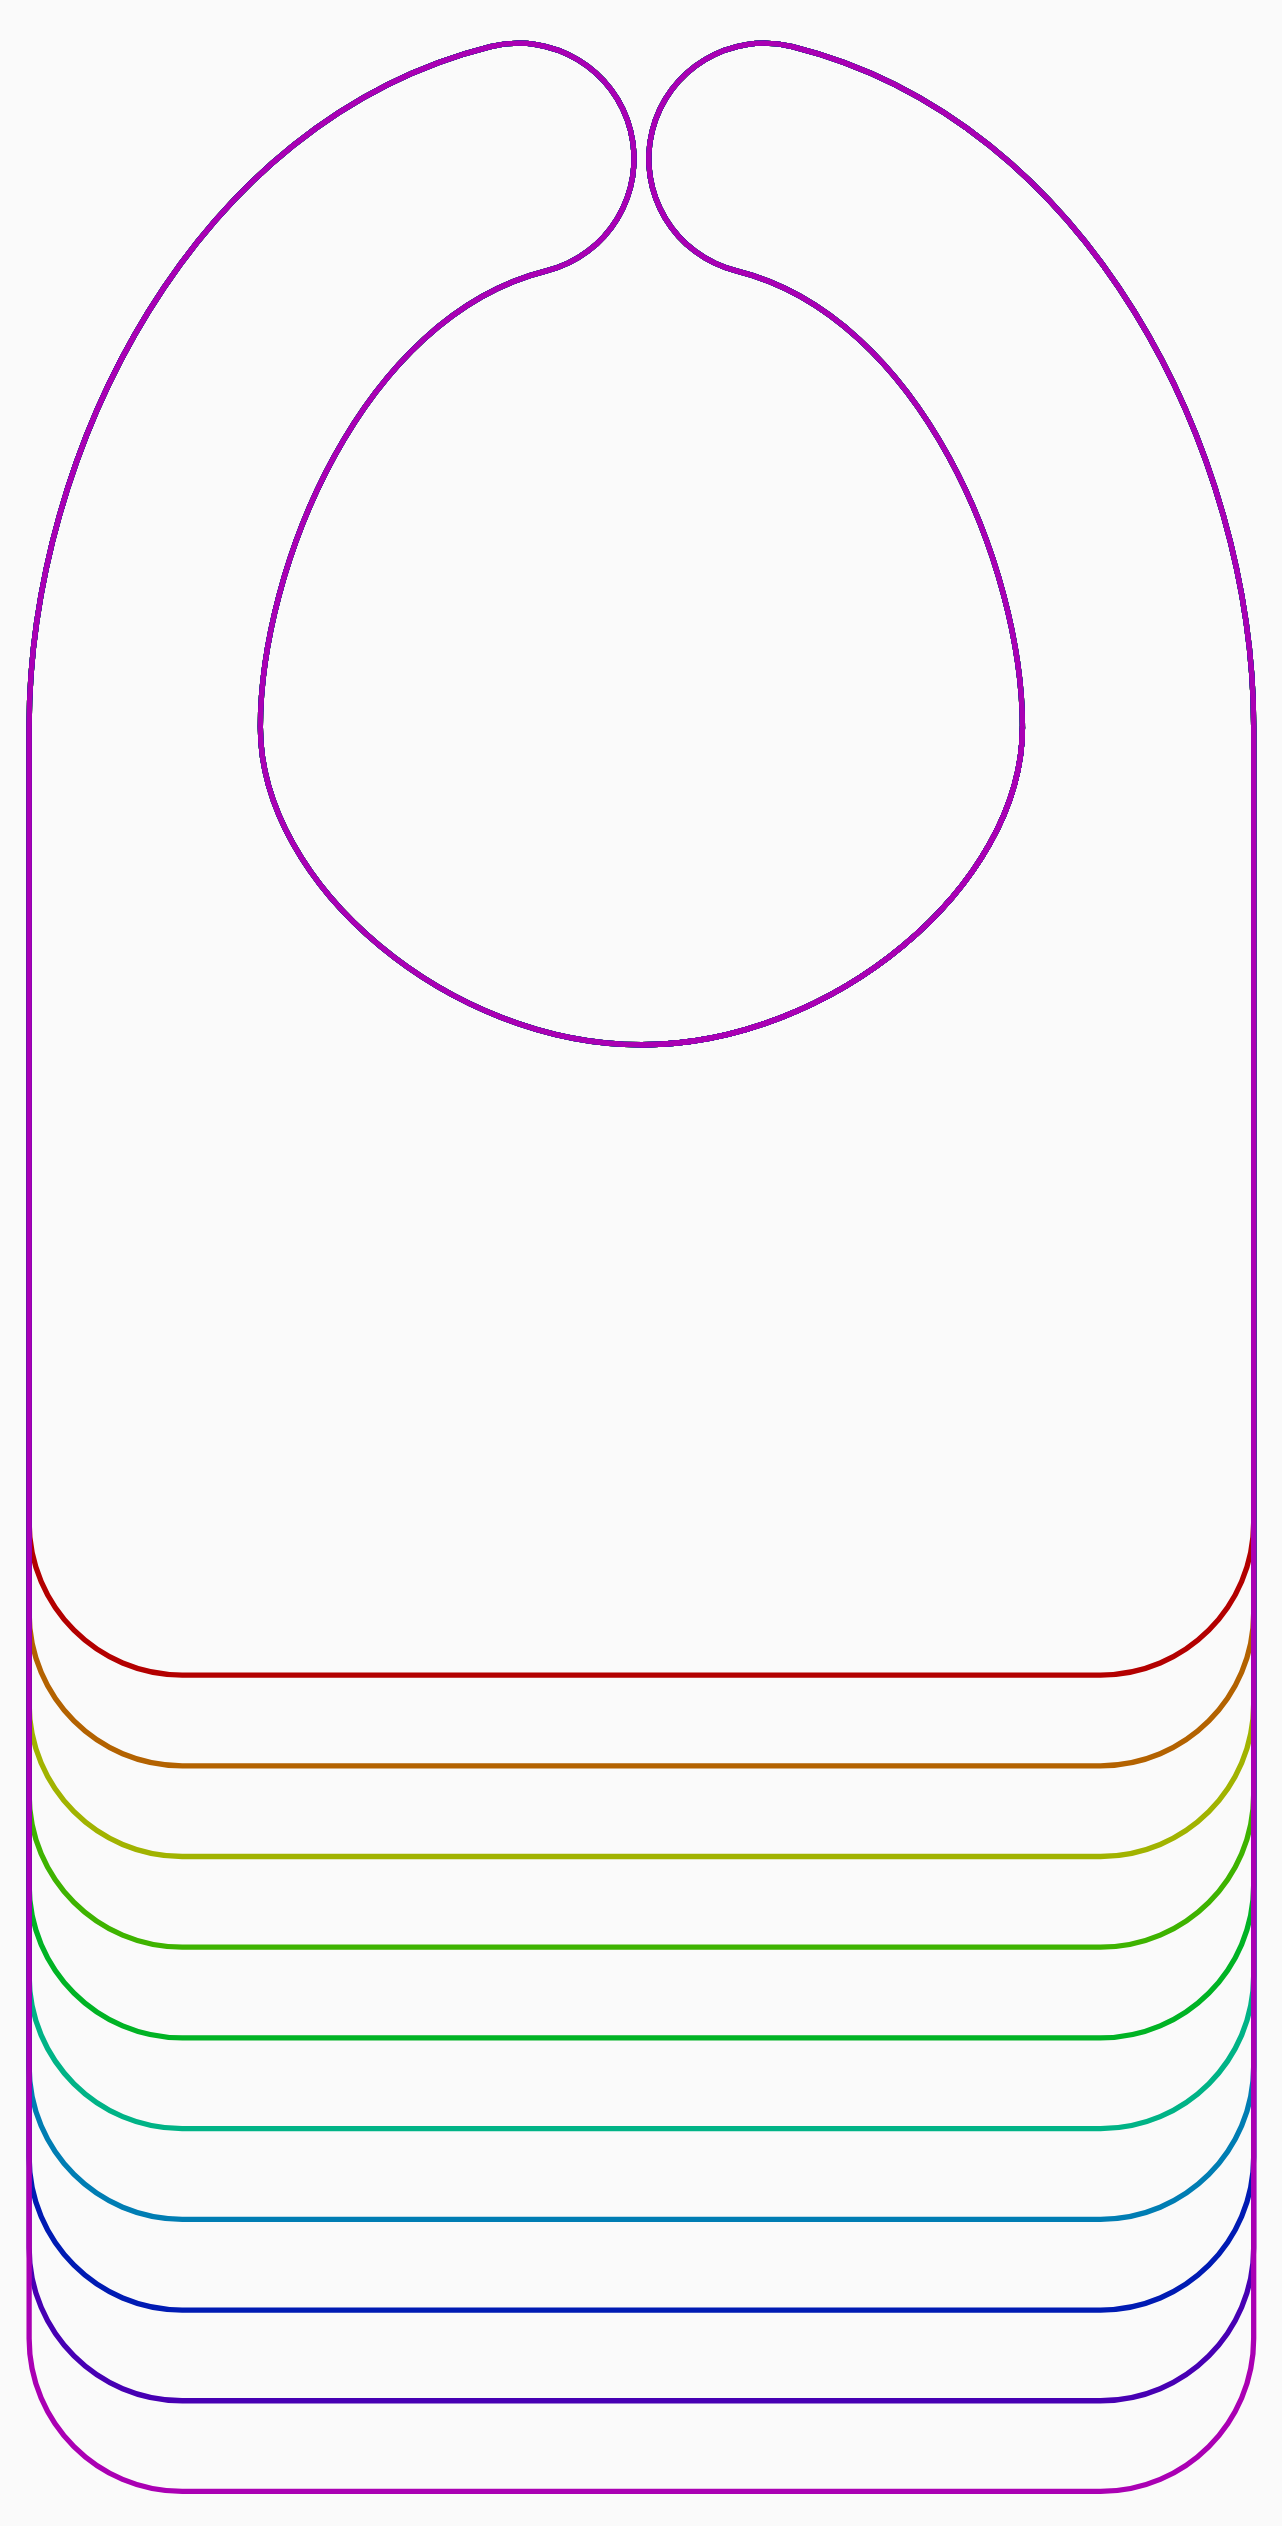
The neckRatio option will determine the size of the neck opening. For the
same head measurement, varying this option should result in bibs with
increasingly larger neck opening.
Testing it confirms this. We can also see that as the neck opening gets smaller, we will rotate the straps further out of the way to avoid overlap:

Update screenshot for v3
widthRatio
The widthRatio option will determine the width of our bib. For the same
head measurement, varying this option should result in increasingly wider
bibs.
If we test it, we can see that it works as intended. But there’s one thing that perhaps requires our attention. Making the bib wider shortens the length from the bottom of the neck opening to the bottom of the bib. Thereby making the bib shorter when it’s worn.
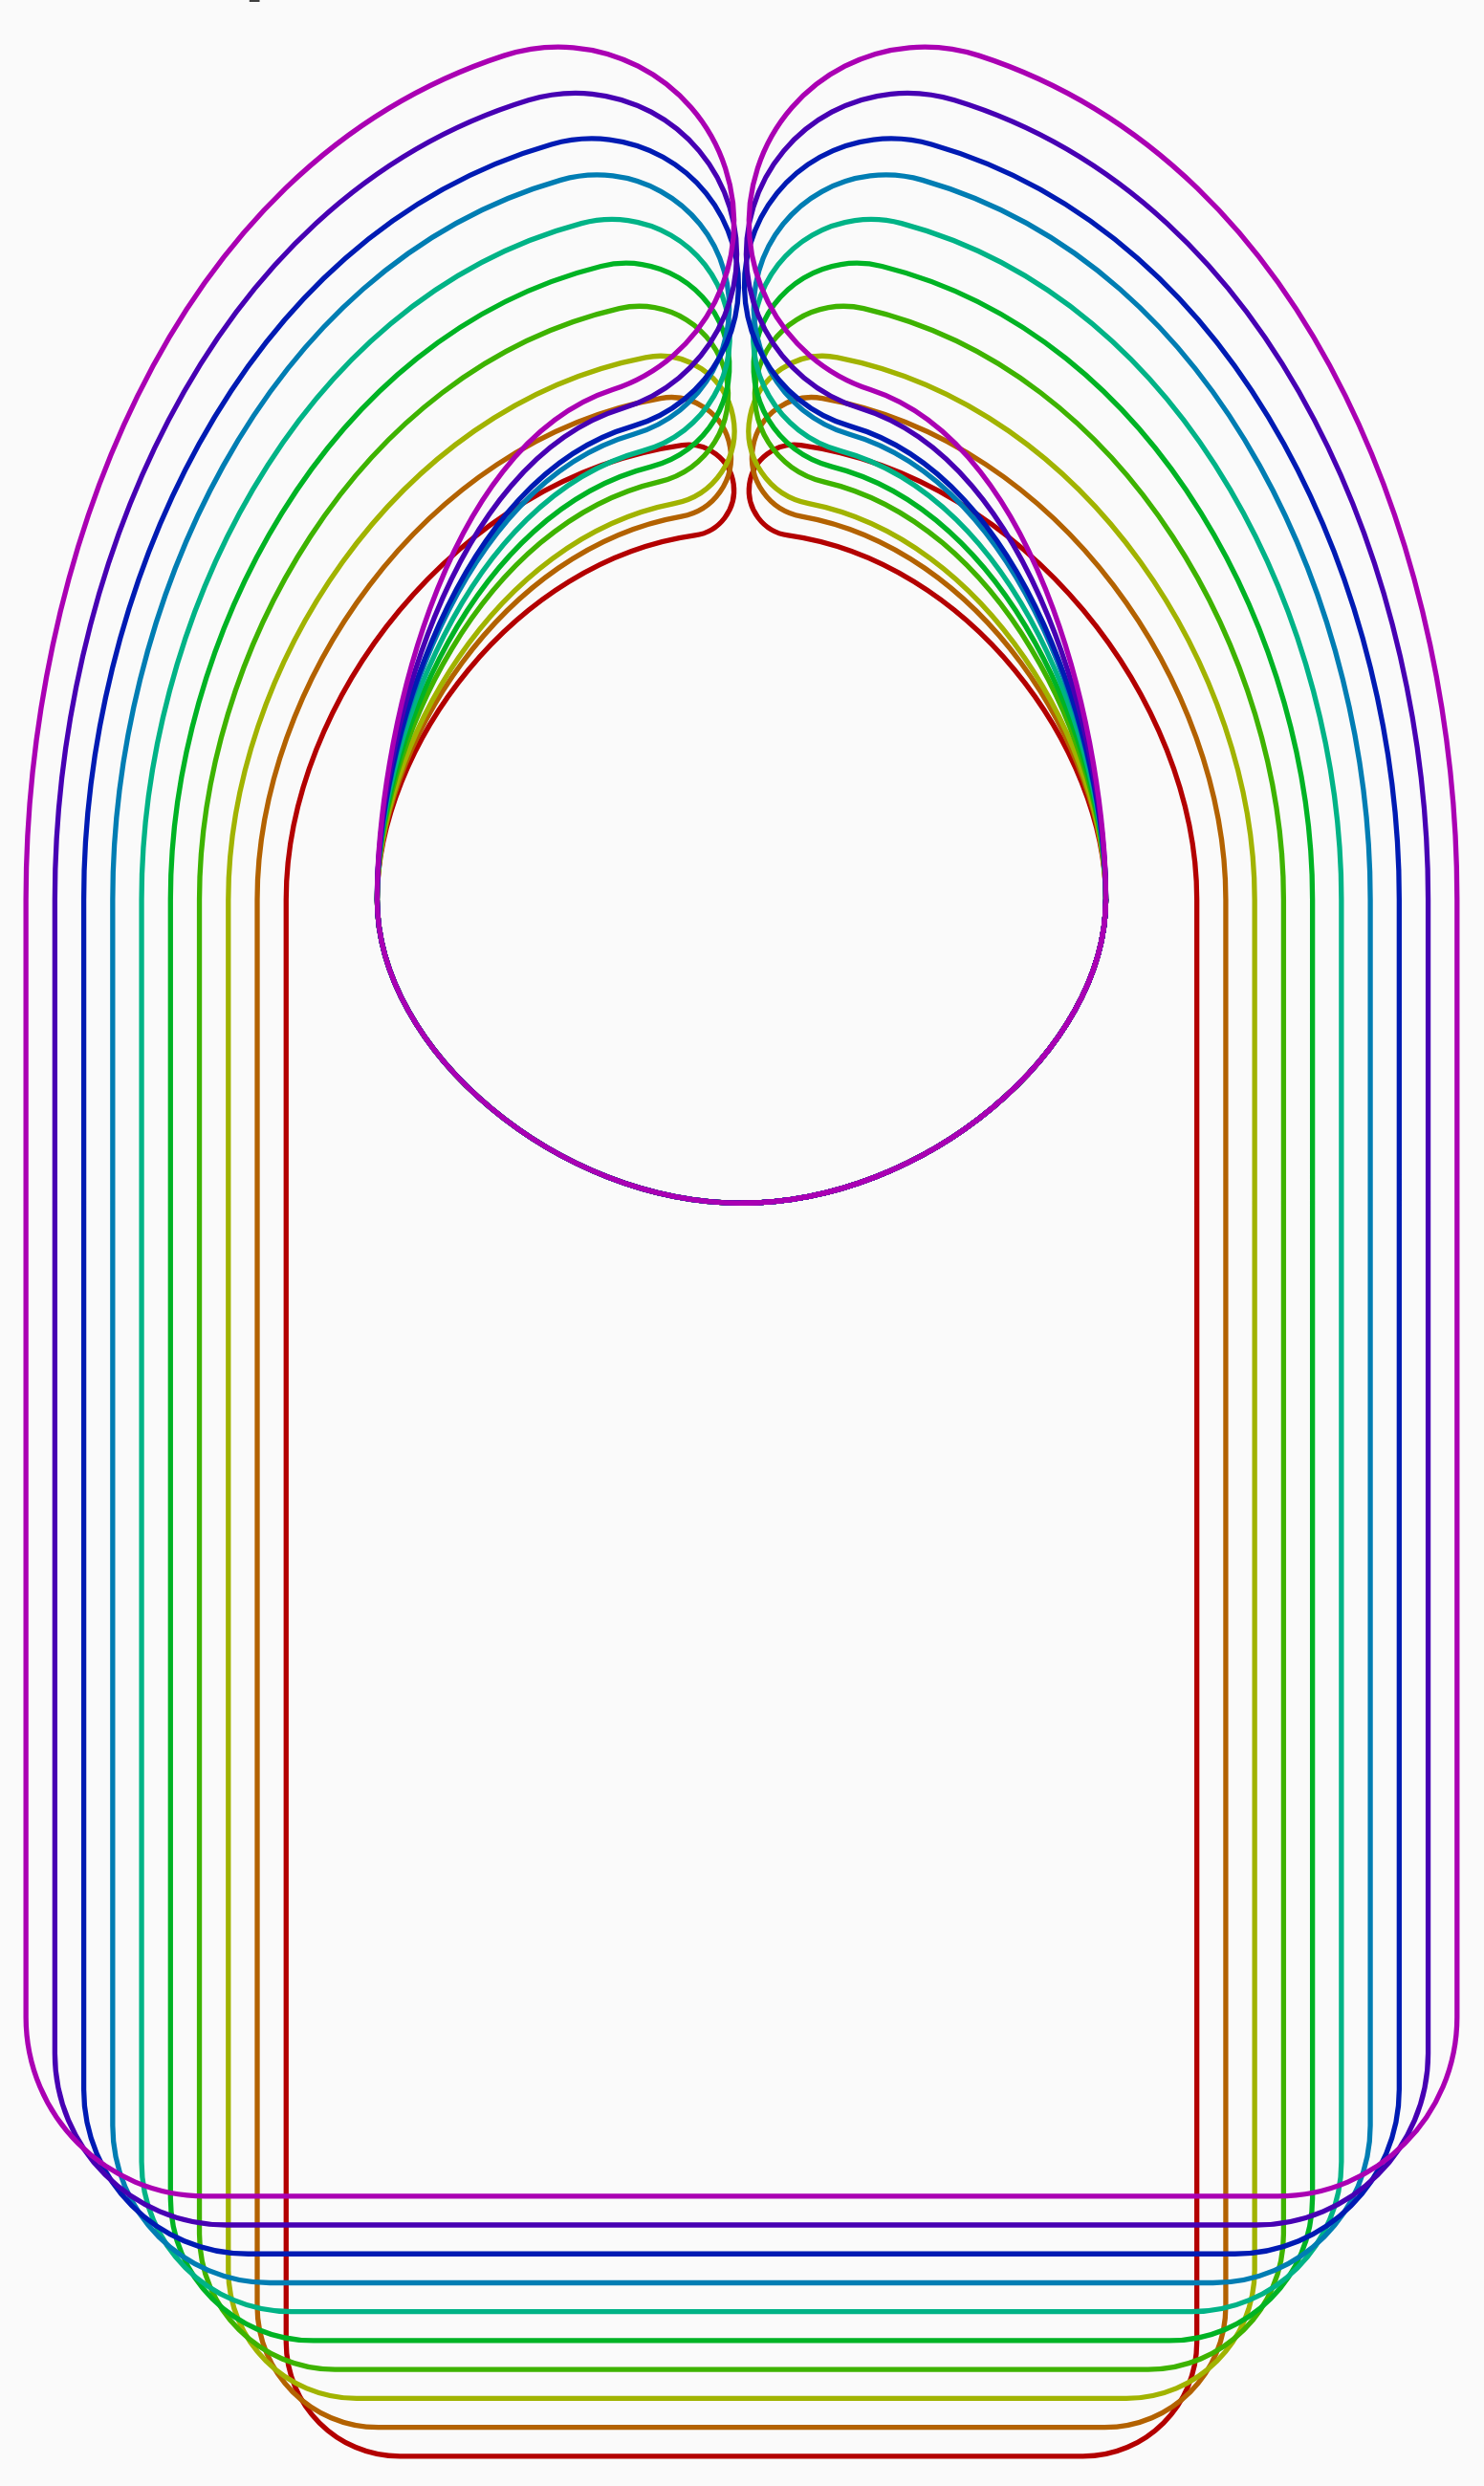
Update screenshot for v3
Even if the total length of the bib stays the same, the useable length shortens when the bib is made wider. Users will not expect this, so it’s something that we should fix in our pattern.
Adjusting the pattern to make the widthRatio not influence the useable
length of the bib is not covered in this tutorial. It is left as an exercise
to the reader.
Testing measurements
Testing a measurement will vary that measurement 10% up or down while leaving everything else the same. This gives us the option to determine how any given measurement is influencing the pattern.
For our bib, we only use one measurement, so it influences the entire pattern.
Add screenshot
Testing measurments sets
Whereas testing a measurement will only vary one individual measurement, testing measurements sets will draft our pattern for different sets of measurements.
On the surface, the result below is the same as our measurement test. But that is because our bib only uses one measurement. So testing that one measurement ends up being the same as testing a complete set of measurements.
But most patterns use multiple measurements, and we’ll find this test gives us insight into how our pattern will adapt to differently sized bodies.
Add screenshot
The antperson test
A special case of model testing is the so-called antperson test. It drafts our pattern with a set of typical measurements , and then drafts it again with measurements that are 1/10th of those typical measurements.
It is named after the cartoon character who can shrink, yet somehow his suit still fits.
The purpose of the antperson test is to bring out areas in our pattern where we made assumptions that will not properly scale. Many drafting books will tell us to add 3 cm there or measure 2 inch to the right. Those instructions don’t scale, and we should avoid them.
The best patterns will pass the antperson test with 2 patterns exactly the same, where one will simply be 1/10th the scale of the other.
Add screenshot
When we’re happy with how our pattern passes these tests, it’s time to complete our design.